


About Me.

I'm a 22yr old makeup artist, mother and a student. Here I talk about my life and makeup.
Follow me on Instagram:

Popular Posts
-
 Love these boyfriend ripped jeans! link here > Elska svona Boyfriend stíl af rifnum gallabuxum, hér This is perf cardigan for au...
 -
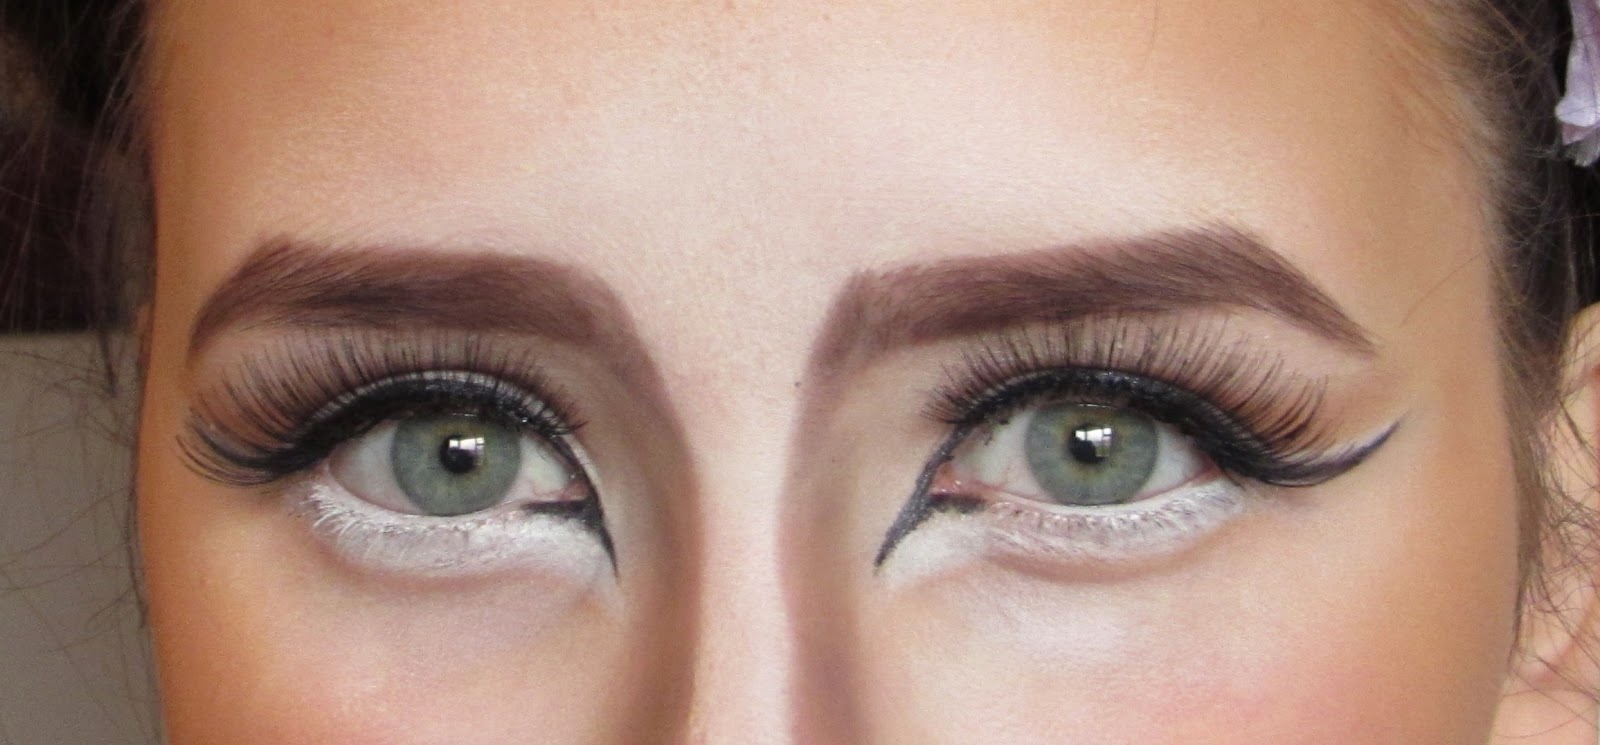
 I really like this makeup look! Although I did forgot to put on lipstick.. don't hate me! I think a nude lip would look good wit...
 -
 I have been eyeing Eye of Horus - Copper Sphinx Liquid Metal for awhile now but I just can't seem to spend that much money on a lin...